Veterinary clinics, just like any medical facility, need to be clean and sanitary for the health of both patients and staff. Good cleaning and disinfection practices also protect the reputation of your clinic. After all, 97% of pet owners consider their pets as part of the family. None of these clients would trust their precious pet with a clinic that looks dirty or smells bad.
And an outbreak of infectious disease could hurt your clinic in the short and long term. One large animal veterinary teaching hospital suffered approximately $4.12 million in direct costs due to a single large outbreak of salmonellosis. The cause? An ineffective infection control program.
That’s why knowing the best way to clean a veterinary clinic is so important. Here’s how to handle every part of the operation from the front rooms to the back.
Veterinary Waiting Rooms: A Gathering Place for Germs
Veterinary waiting rooms are busy with people and animals coming and going all day. Maintaining this space requires a combination of thoughtfulness and rigor. Veterinary waiting rooms need thorough daily cleaning. But disinfecting will be required if sick or potentially sick animals came through.
Clean human work areas like the reception desk and computer workstations every night. Be sure to clean other touchpoints like light switches and doorknobs too. Don’t forget shelving and merchandise displays.
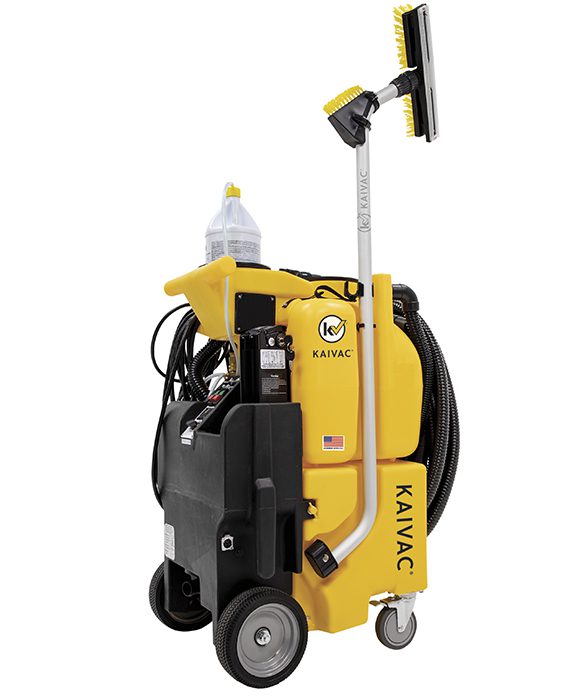
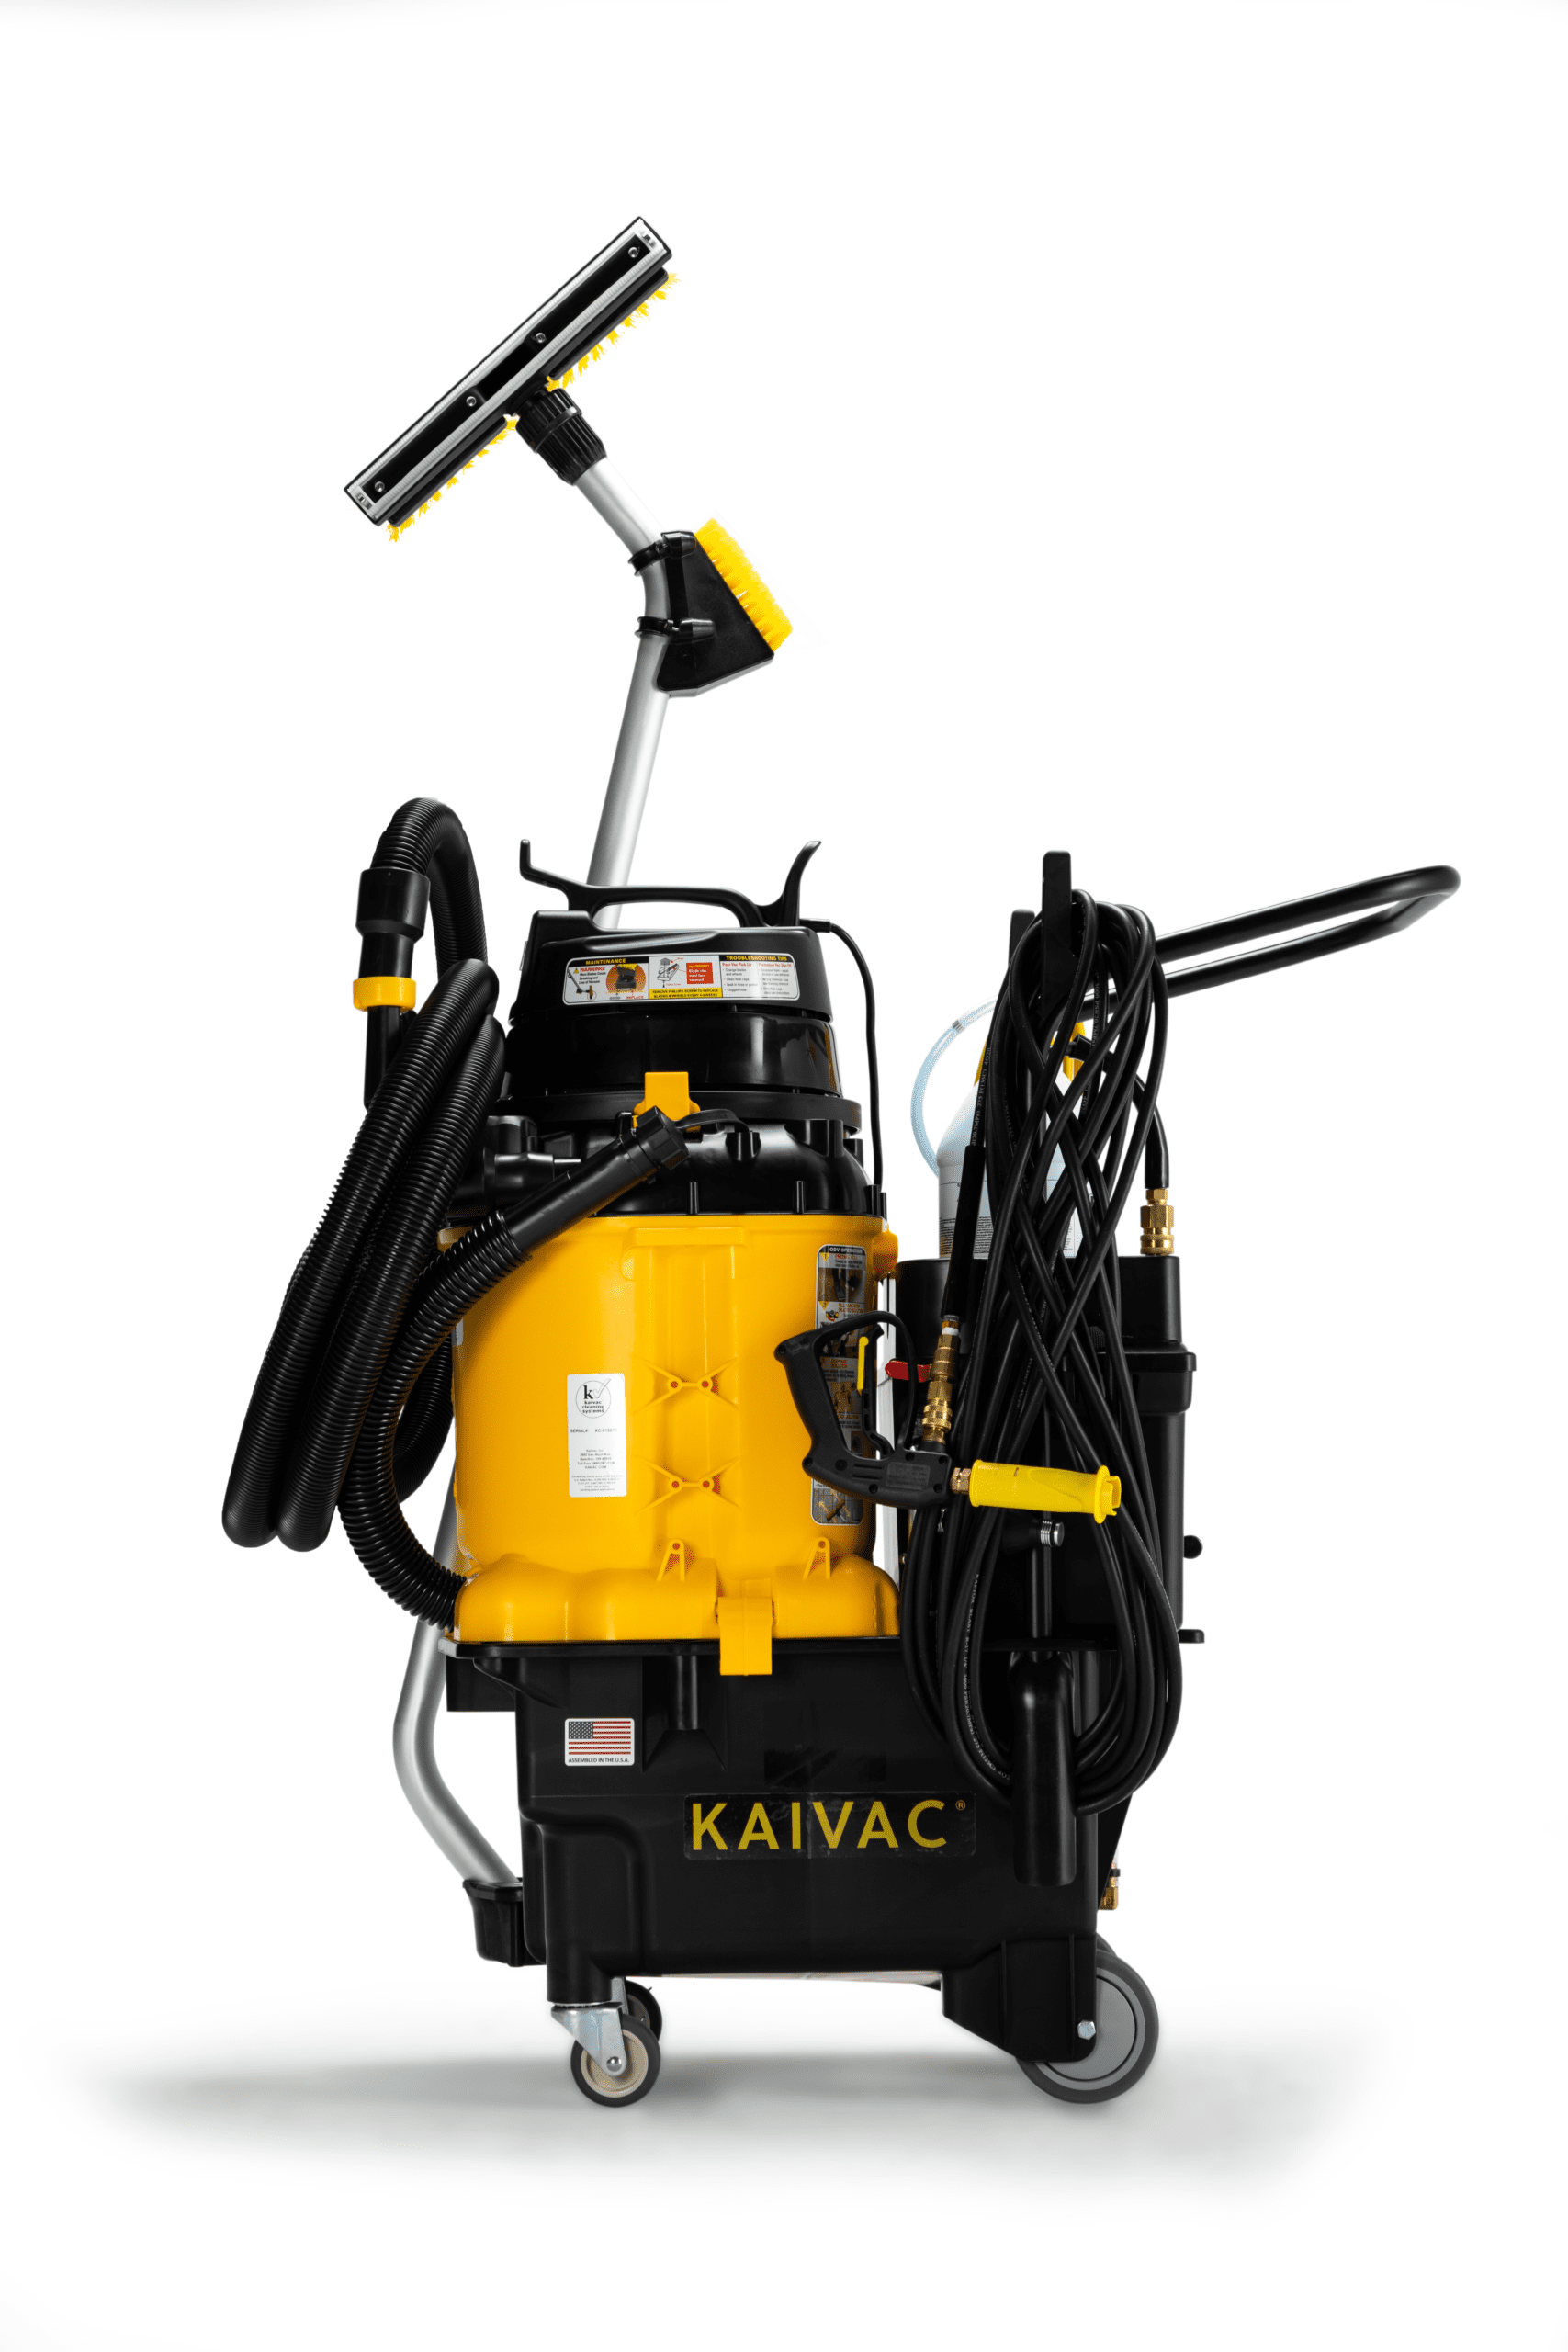
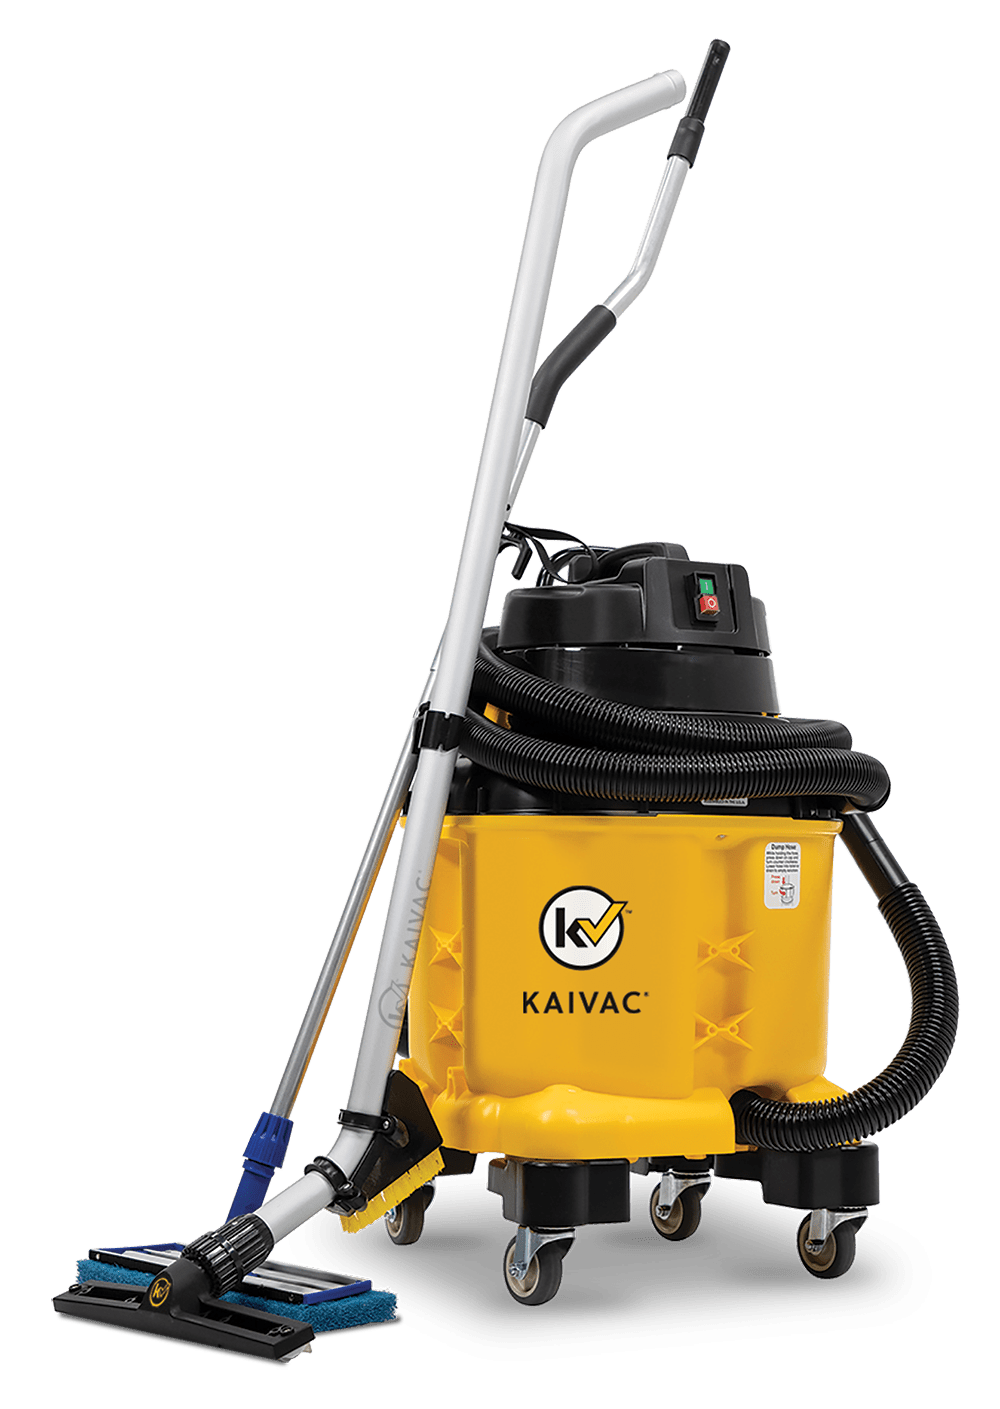
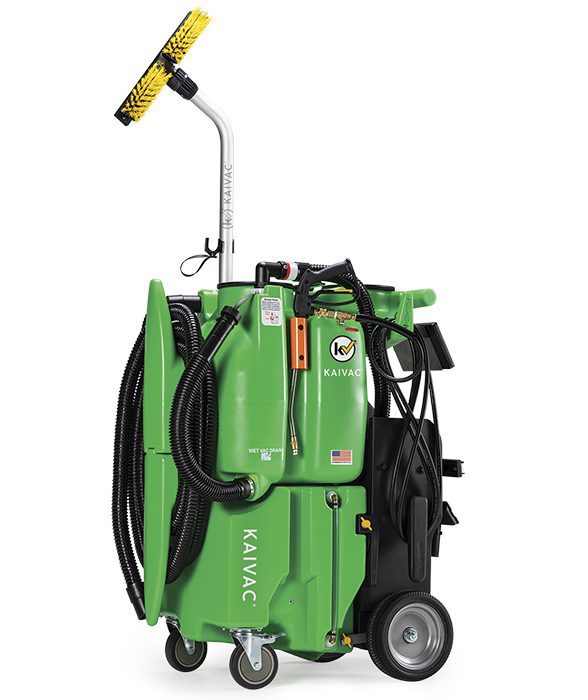
Waiting room floors also demand daily care. As noted in this article, veterinary floors are the one of the first things clients notice, so they must always look clean and shiny. The author recommends using an autoscrubber to get the job done. However, the AutoVac Stretch™ from Kaivac is a better choice.
The AutoVac Stretch:
- Costs less than an expensive autoscrubber
- Requires less maintenance
- Removes 99.8% of targeted soils
- Leaves floors 25% shinier
Patient Rooms: Disinfection is Key
Patient exam rooms require deeper cleaning and regular disinfection to prevent the spread of disease. But beware: cleaning and disinfecting are not the same thing. Make sure staff understand the difference. Cleaning makes things look and smell good but can’t kill all the pathogens veterinarians worry about.
This article in Veterinary Practice News lays out a three-step disinfection process. The piece recommends:
- Mechanically removing organic material like blood, feces, and dirt
- Cleaning surfaces with general cleaner. Once dry apply disinfectant and allow to dwell.
- Rinse the disinfectant away and dry
The piece also recommends stocking more than one type of disinfectant. Quaternary ammonium compounds are good for everyday disinfection as they kill basic pathogens. Tougher viruses, like parvo, calicivirus, and ringworm, require different formulas.
Kennels: Cleaning and Disinfection Protocols
Kennel cleaning is vital for the safety and health of boarded dogs and cats. It is also time consuming and physically demanding. Cleaning and disinfecting kennels requires:
- Removing the animal
- Removing and soaking food and water bowls
- Washing and drying bedding
- Scooping solid waste
- Cleaning and drying kennel walls and floors
- Applying appropriate disinfectant to walls and floors
- Letting disinfectant dwell
- Rinsing disinfectant from walls and floor with clear water
- Removing the solution from the kennel
- Drying surfaces
- Put supplies and pets back in
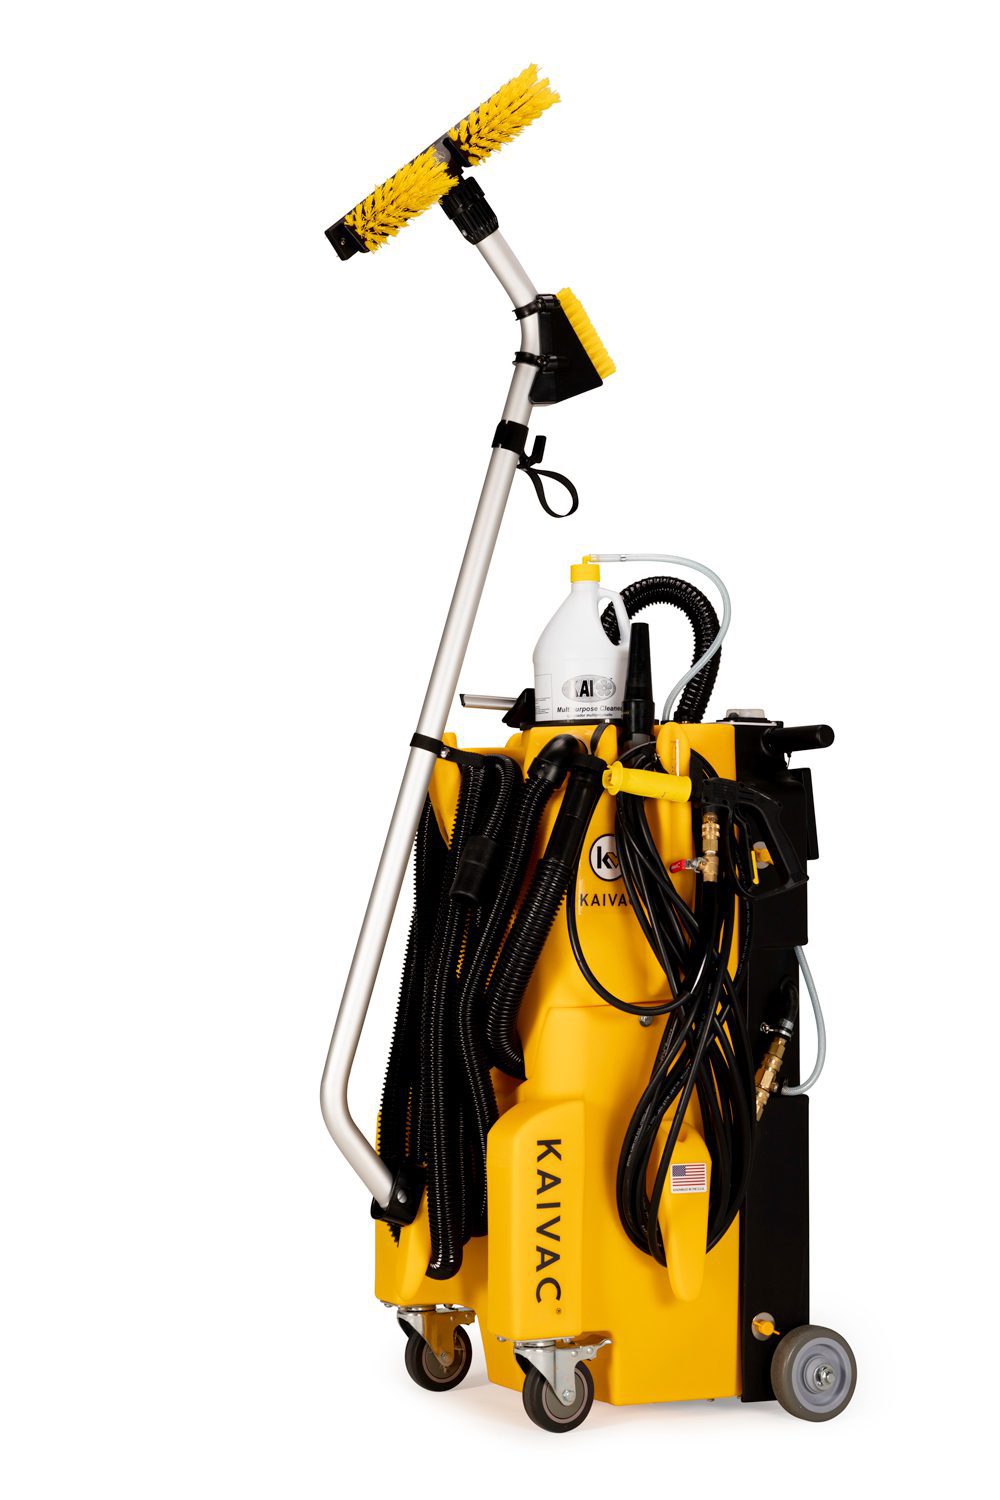
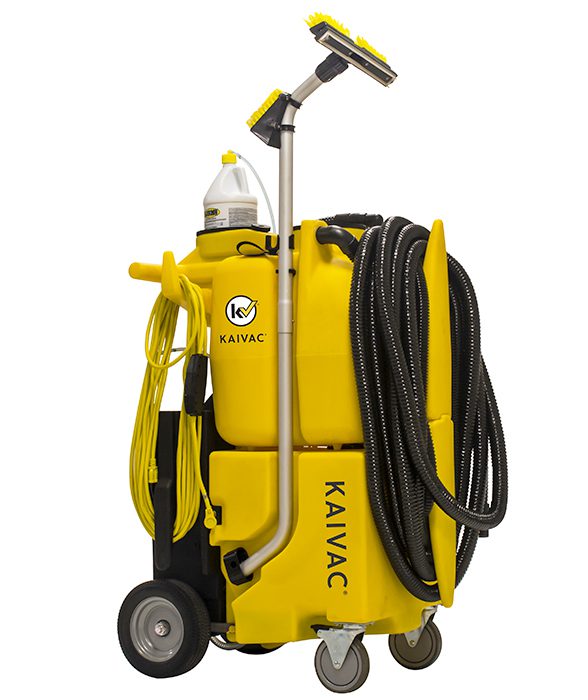
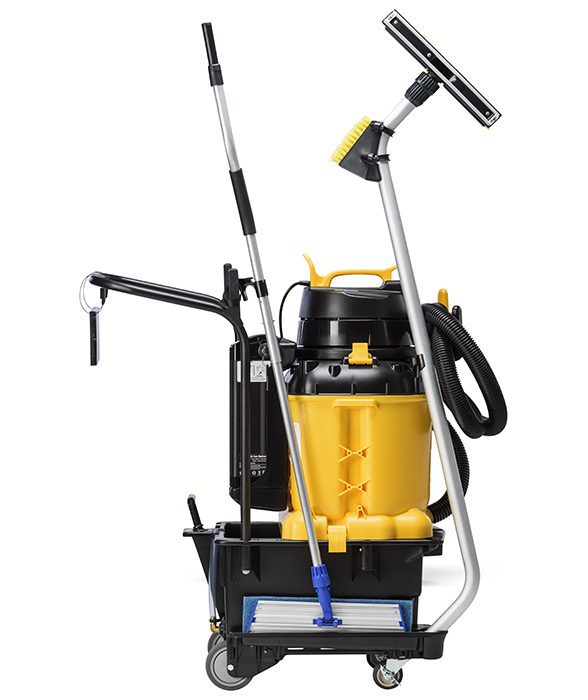
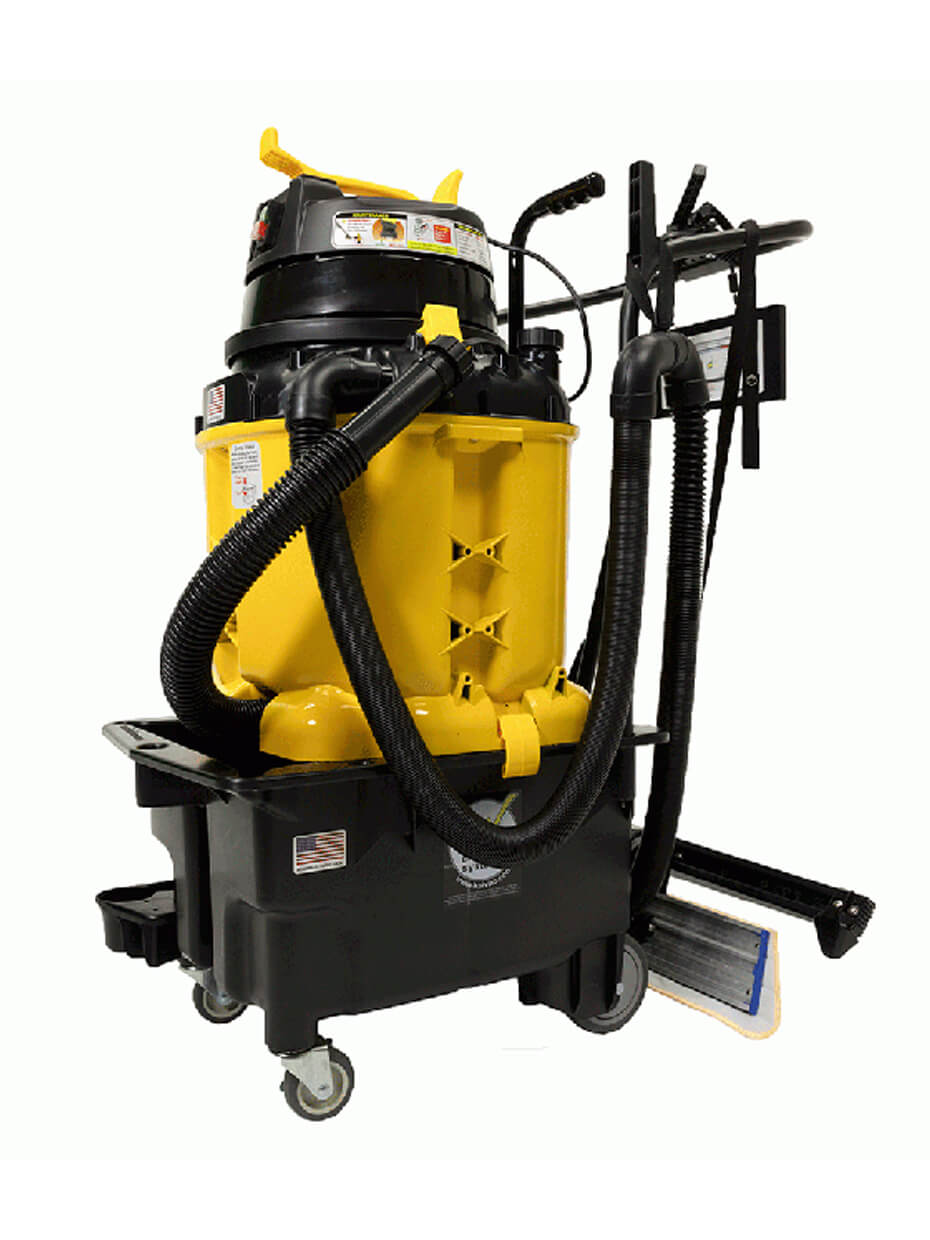
There are tools that make kennel cleaning and disinfecting faster and easier. The No-Touch Cleaning® system from Kaivac lets employees fully remove dirt and dangerous pathogens from kennel surfaces. Kennel owners swear by the technology, even using it to attract new customers. “People always ask how we clean,” says Christa Guenther, owner of Wagging Tail Ranch. “After seeing the Kaivac they are more confident in the business.”
